Tuesday, April 29, 2014

LWD Tool Review Tuesday: Dylusions 5x9 Journaling Block

For today’s Tool Review Tuesday, I’m reviewing the Dylusions 5x9 Journaling Block.  

Journaling Block For larger stamps, it’s a must.  Here’s a comparison to a large acrylic block that I happened to have.
OLYMPUS DIGITAL CAMERA
As you can see, it’s much larger.  Now to give both a test drive with the Dylusions  Pin Up Queen stamp.
OLYMPUS DIGITAL CAMERA           OLYMPUS DIGITAL CAMERA
The stamp hangs off the large acrylic block ad you don’t get a very good impression.  I used my fingers to press down on the parts that were hanging off the block.
Now, for the Dylusions Journaling Block:
OLYMPUS DIGITAL CAMERA
The stamp fits perfectly on the block and gives a clear, crisp stamp.  No need to worry about overhang and poor stamping impressions.
It’s also good if you want to stamp a complete scene at one time or want to stamp several stamps at once.
OLYMPUS DIGITAL CAMERA
I’m very impressed by the Dylusions Journaling Block.  I love the larger size as it’s perfect for bigger stamps and border stamps and since it’s thinner than a lot of acrylic blocks, it’s easier and to use.
You can find the products used here and many more for your crafting projects at 25% off MSRP at Lone Wolf Designs, LLC.  All you have to do is join the Lone Wolf Designs Discount Craft Supplies Facebook group.  If you haven’t joined us yet, you’re paying TOO MUCH for your craft supplies!

Dylusions 5x9 Journaling Block
Dylusions Pin Up Queen Stamp Set
Dylusions Monster Mash Stamp Set
Ranger Archival Ink Pad-Black
Until Later……………………..
LiveWriter Signature

Sunday, April 20, 2014

Happy Easter! Egg Shaped ATCs

Yeah, it’s been a while since I’ve shared any of my work not pertaining to design teams.  Yes, I still participate in swaps; it’ s just been a busy year so far and I’m behind on posting.  Hopefully I can get caught up and post more soon.  I have several ATCs I haven’t shared that I did for an Alphabet swap (now to find where I stashed the pics) among others.

I apologize for the quality of these photos.  These were taken in my studio with my iPhone.

These are two egg-shaped ATCs I did for a swap on the AFTCM Yahoo page.  Meet Mr. Hoppy:

Easter Egg ATC Swap 1 Hoppy

I papered the egg shape in yellow paper and then stenciled over that with Orange Marmalade Distress Ink.  It’s very subtle, but really looks good in person.  Mr. Hoppy is a piece of German scrap and I glued down a string of beads, removing the string when the glue was dry.

Easter Egg ATC Swap 2 Bunny Cart

My Bunny Cart was done basically the same way as Mr. Hoppy, except I used silk ribbon on the edges and then glued beads on the top and bottom.

I still love participating in swaps but keep forgetting to take pictures.  Why?  Because usually, I’m running out the door trying to get to the post office to meet the mailing deadline.

Hope everyone has a Happy Easter!
Until later…………………………..
LiveWrite Signature Line

Thursday, April 17, 2014

LWD Design Team Showcase: Mason Row Pegz Stamps

Good morning everyone.  I recently purchased Mason Row's Pegz stamps and decided to give them a test drive.


The stamps come snapped together in a set.  Once you take the set apart, you can start forming your words.  I was working on a travel/beach/nautical ATC so here I made the word “sea”.


The Pegz stamps allow perfect spacing.  No need to worry your letters will be all wonky.


You can string words together.  To add the necessary space between words, just turn one of the unused stamps around and use it as a spacer.


Your words are now perfectly spaced.


In this example, I cut out each word individually so it would fit on my ATC.


Ran them through my Xyron sticker maker.


And now my ATC has the perfect words, with perfectly spaced letters.

Need to do something a little different with spacing?  Check this out:


Yep, it’s that easy.  Just pop the stamps together and stamp.


Just another example.


And when you are done, they all snap together for easy storage.  No more losing stamps because they come loose and fall off your sheet.   I keep these sitting on my worktop within easy reach.

You can find the products used here and many more for your crafting projects at 25% off MSRP at Lone Wolf Designs, LLC.  All you have to do is join the Lone Wolf Designs Discount Craft Supplies Facebook group.  If you haven’t joined us yet, you’re paying TOO MUCH for your craft supplies!

Supplies Used Available from Lone Wolf Designs LLC:
Mason Row Pegz Stamps
Xyron 1.5 Create-A-Sticker

Until later……………………………………….

LiveWrite Signature Line

Happiness Album for Basically Bare

Good morning everyone.  I decided to play around with Basically Bare’s Simply Shapely album.  It has several different surfaces to work with and like all Basically Bare albums, is a joy to work with.

Happiness

I used the Authentique Abroad Collection for this mini album.  I papered the front, stenciled on a fern using embossing paste I colored with Rainbow Ink.  I then scattered some Prima flowers around the fern.  I used Walnut Stain Distress Ink to cover up the white edge.

Page 2-3

I papered both of these pages and then painted a Basically Bare Fleur de Lis (discontinued) with Art Anthology Satin Sheen Gold.  The stickers come from the Abroad Collection.

Page 4-5

The left side of the page was papered and then I added a globe I cut using Sixxiz's Mini Globe die and Paper Binderie.  I used Art Anthology Kona, Faded Jeans and Mowed Lawn Distress Inks, and black acrylic paint to color the globe.  I left the Basically Bare Retro Arrow black and then added word stickers from the Abroad Collection.  The arrow is outlined with a white gel pen.  For the right side, I stenciled some mini art deco leaves using Art Anthology Kona Velvet paint.

Page 6-7

The left side was sprayed using Art Anthology Studio Blue and Sangria Colorations, then randomly stamped with a script stamp I had.  I added stenciling using a mini quatrefoil stencil and Art Anthology Reef Velvet Paint.  The opposite page was papered and I added a Sizzix diecut mini fan cut from Paper Binderie that I painted with black acrylic paint and Pewter Distress Paint.

Page 8-9

More paper and stickers from the Abroad Collection along with some vintage game pieces I had on hand.  I used alcohol inks to color the acrylic page.

Page 10-11

I stenciled the left side (acrylic) with a mini rustic paint stencil and translucent embossing paste I colored with bronze ink.  The right side (canvas) was sprayed with Art Anthology Colorations in Denim, Paprika, and Cinnamon Twist.  I then used a chicken wire stencil and black embossing paste to finish the page.

Page 12-13

For the left side canvas page, I sprayed Art Anthology Patience, Warm, and Plush Colorations then stenciled over that with clear embossing paste and a mini zinnia stencil.  I highlighted the stenciled area with Spiced Marmalade Distress Ink.  The translucent paste allows the colors of the sprayed canvas to show through, an effect I love.

Back of Happiness

I papered the back, then added a diecute mini jalopy I colored with Art Anthology Desire Velvet.

Mini albums are so much fun.  There is so much you can do with each of the pages, and with such a wide assortment of surfaces to work with (cardboard, acrylic, canvas, chipboard) you can try out or use a lot of techniques.

Supplies Used:
Basically Bare: Simply Shapely mini album, Fleur de Lis (discontinued), Retro Arrows, and Paper Binderie
Art Anthology:  Studio Blue, Sangria, Denim, Paprika, Cinnamon Twist, Patience, Warm, Plush Colorations; Truffle, Kona, Reef and Desire Velvet; Satin Sheen Gold Sorbet
TCW Stencils:  Mini Zinnia, Mini Fern, Mini Rustic Paint, Mini Quatrefoil, Reversed Mini Chicken Wire, Mini Art Deco Leaves
Studio 490:  Black and Transparent Embossing Paste
Distress Ink:  Spiced Marmalade, Faded Jeans, Mowed Lawn
Distress Paint:  Brushed Pewter
Sizzix:  Mini Jalopy, Mini Globe, Mini Fan
Prima Flowers
Authentique Abroad Collection
Alcohol Inks
Miscellaneous Embellishments
Miscellaneous Stamps

Monday, April 7, 2014

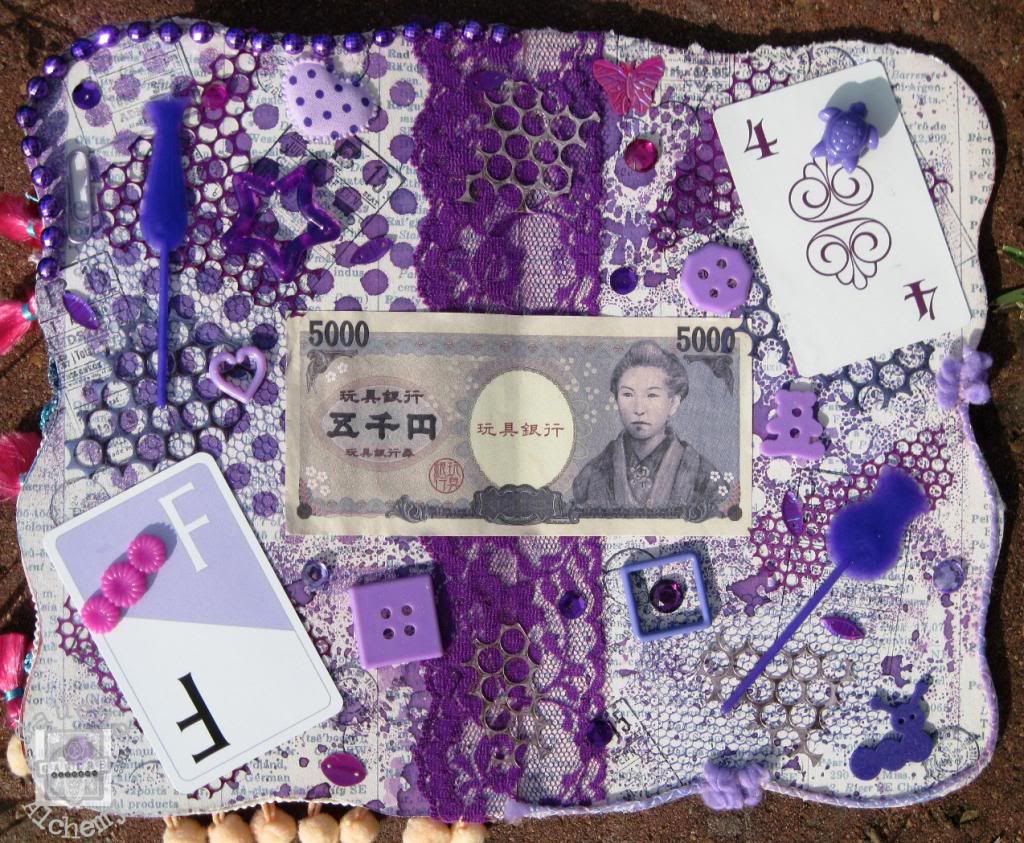
Altered Board Book Turned Color Journal for Gauche Alchemy

Hello everyone! Today I want to share a project I did for Gauche Alchemy a few weeks back.  It’s another spread for my Color Book. It’s been a while since I did one and I thought it was time. For this go ’round, I decided to use purple. So, I grabbed my Purple People Eater Mixed Color Kit and started gluing.

purple color art journal

Just as a reminder, this book started life as a Sesame Street children’s board book. For this spread, I glued down vintage magazine paper from the Scrap Yo’ Stash & Nekkid kits to cover the very bright pictures. I followed this up with a thin coat of gesso.

altered board book

Next came the background. I stenciled and stamped with purple ink (in keeping with the purple theme), then cut up some different colors and sizes of punchinella and laid them out randomly on the page. I also glued down a couple of pieces of mesh from the color kit. TIP: Spray glue works wonderful with “holey” things like punchinella and mesh.

altered book art journal

Then I just started laying down all the bits and pieces. I always get everything where I want it to be before gluing.

altered board book art journal

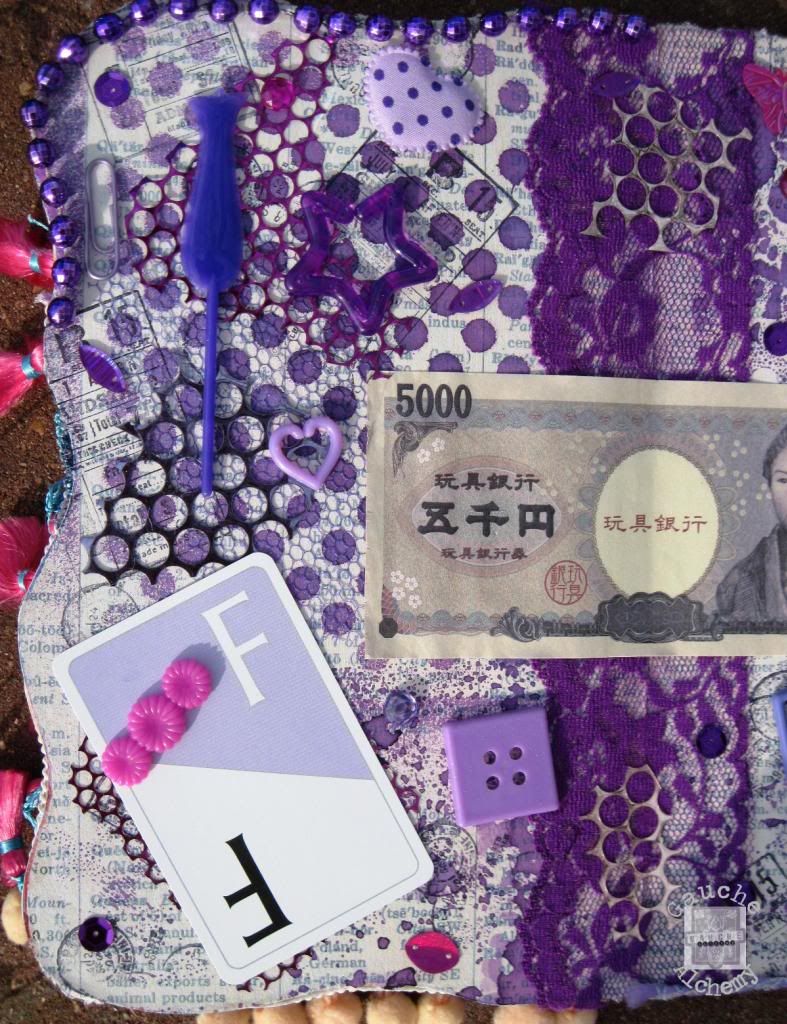
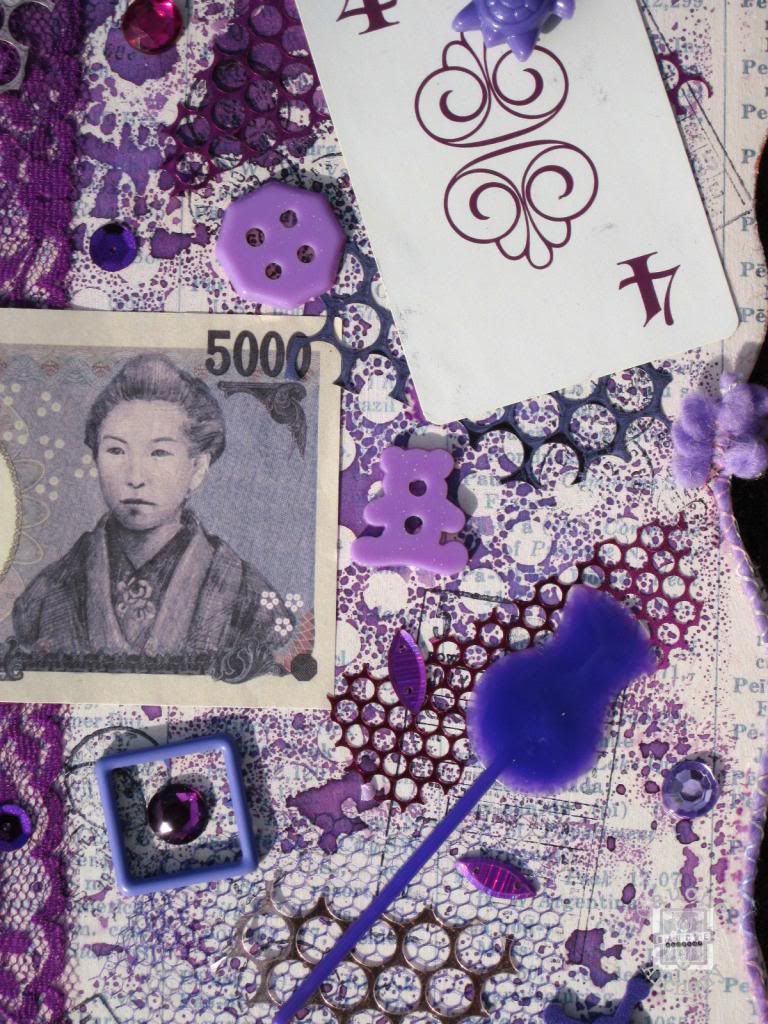
Playing cards, money, buttons, swizzle sticks; all kinds of goodies and all in shades of glorious purple.

As you all know, I love the Gauche Alchemy kits, not only because I design for them, but because they are just so much fun to use.

Until later…………..
LiveWriter Signature

Thursday, April 3, 2014

The Caged Bird Sings – Basically Bare

Good morning everyone.  For my newest Basically Bare project, I decided to play around with a chunk of wood and created this chunky ATC.  I love the fact that it's three-dimensional and allows for multiple surfaces to be creative on.

I first gesso'd the entire block of wood to provide a smoother surface to work with along with hiding some of the wood grain (this started life as a 2x4).  I then sprayed it all over with Art Anthology Colorations in Timeless, Studio Blue, and Honey Bee.  Next I stamped with a JustRite Filigree Leaves stamp then stenciled vines over it using Studio 490 Embossing Paste that I tinted with inks.

The cage is a Sizzix die cut I colored with a gold metallic marker.  The bird is from our Stack-a-bellies Bird set, painted with Art Anthologies Desire Velvet.

For this side, I used a Happy Little Tree.  I chose a cardboard bottom I pained with Kona Velvet and a felt top painted with Evergreen Sorbet.  The birdhouse and bird are from an old Crafty Secrets clear stamp set called Birds at Home.

For this side, I cut a branch from Paper Binderie using a Sizzix die and then painted it with Cinnamon Twist Colorations.  The metal key is from my stash.

Another branch cut from Paper Binderie graces this side, along with a couple of metal bits I found in my stash.  As you can see, I embossed vines on all sides of this block.

My chunky ATC is now winging its way to its new owner.  I'm ready to start another one!

Thank you for joining me today!
Marilyn

Supplies Used:
Basically Bare:  Stack-a-bellies Birds, Happy Little Trees, Paper Binderie
Art Anthology Colorations:  Timeless, Studio Blue, Honey Bee, Cinnamon Twist
Art Anthology Paints:  Desire & Kona Velvet, Evergreen Sorbet
JustRite Filigree Leaves Stamp
Studio 490 Translucent Embossing Paste
Rainbow Inks: Metallic Green & Metallic Bronze
Dylusions 5x8 Leaf Flourish Stencil
Sizzix Bigz Die:  Caged Bird
Sizzix Movers & Shapers Die:  Mini Branch & Leaf Set
Crafty Secrets Birds at Home Stamp